
Brabantia Pull-Out Drying Line – 22 m
Brand: Brabantia
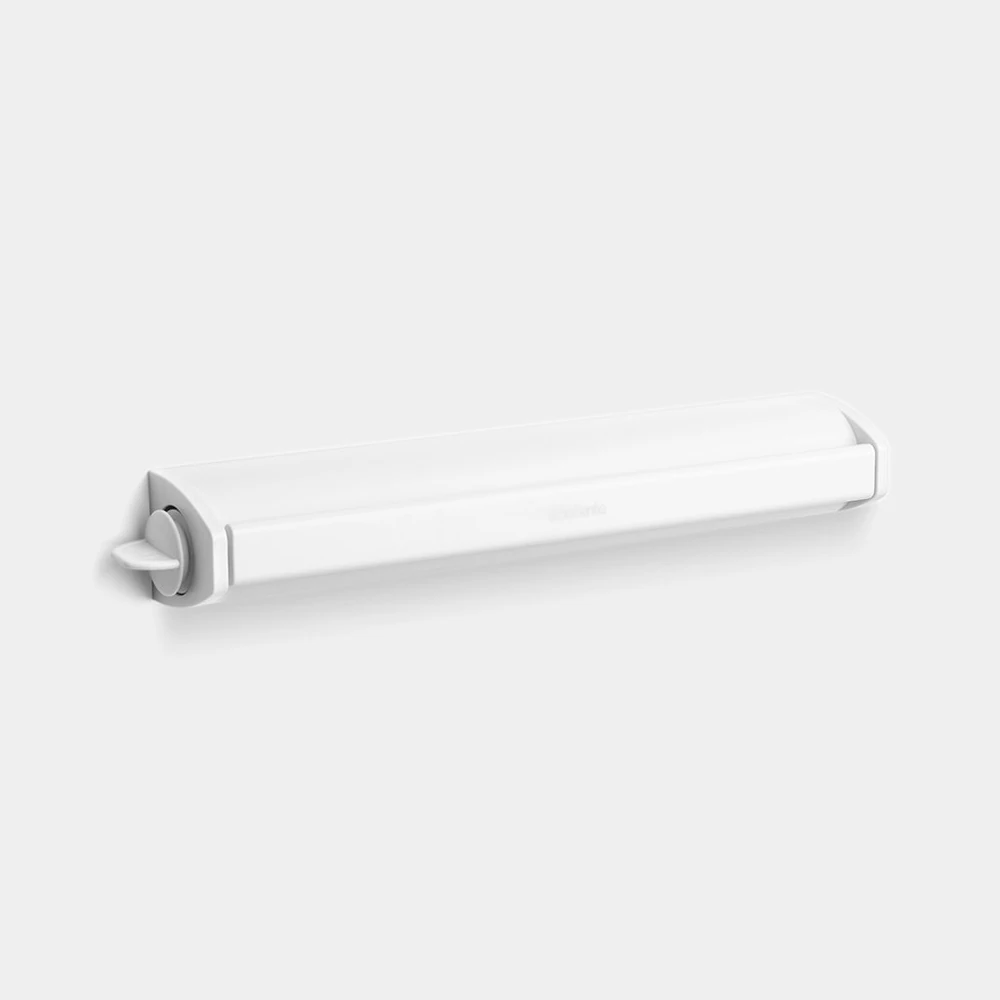
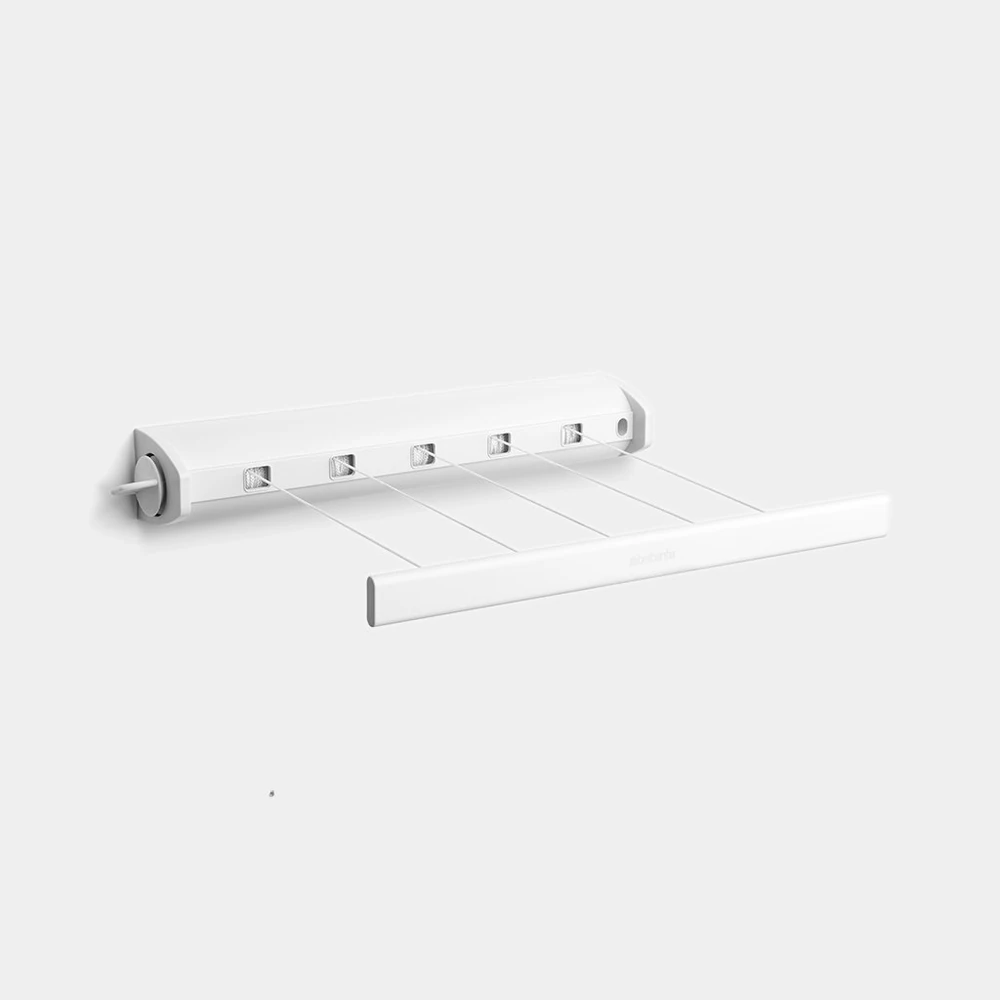
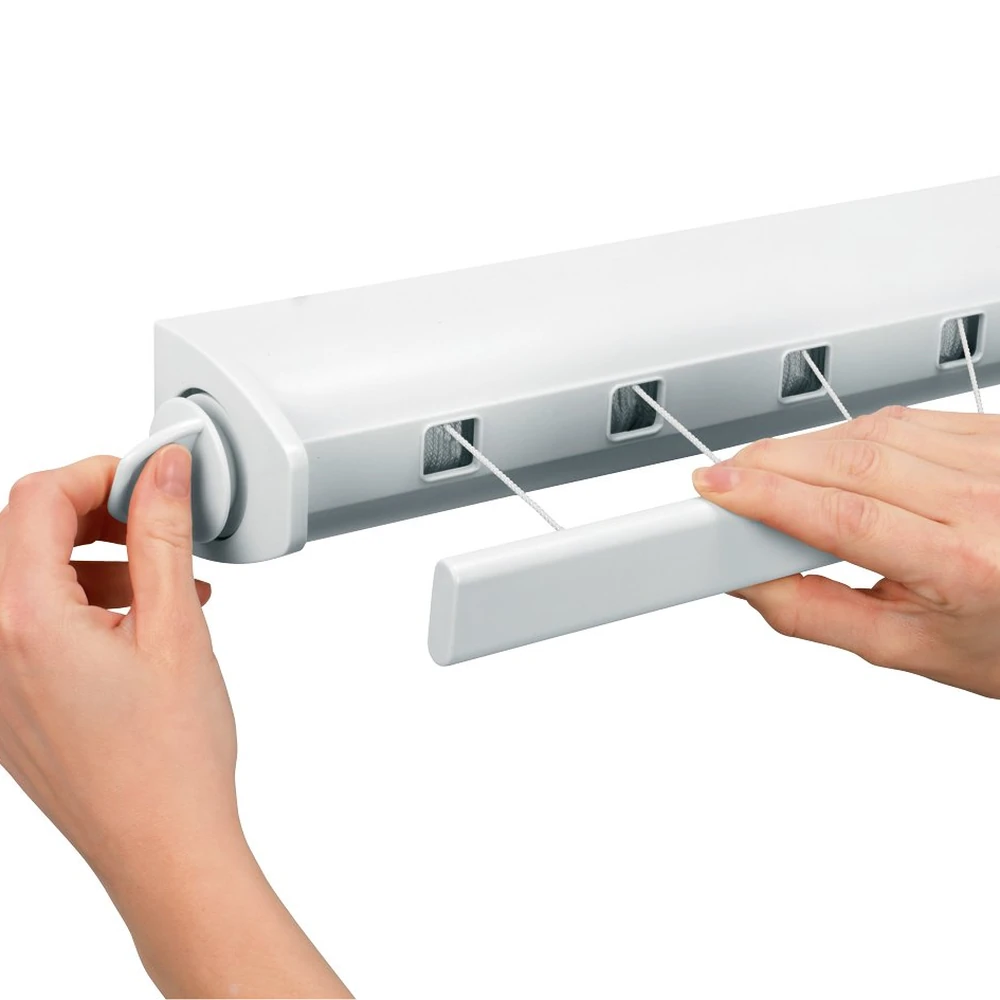
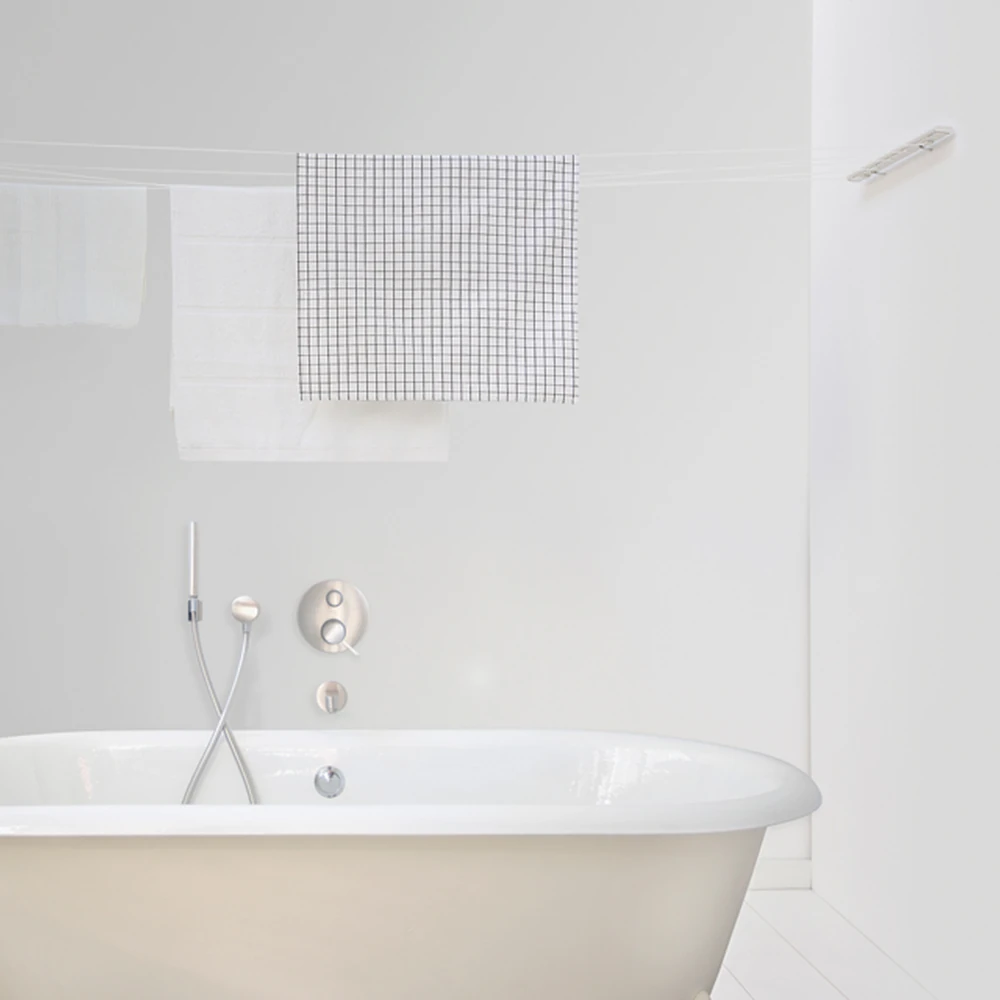
Brabantia Pull-Out Drying Line – 22 m
Brand: Brabantia
About this product
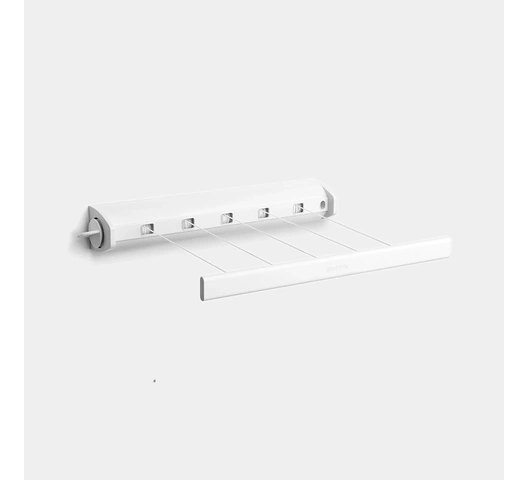
22 m Total Line – Five retractable lines combine to offer 22 metres of drying space for a full laundry load.
Wall-Mounted Design – Mounts securely to any wall, freeing up floor space and keeping the room uncluttered.
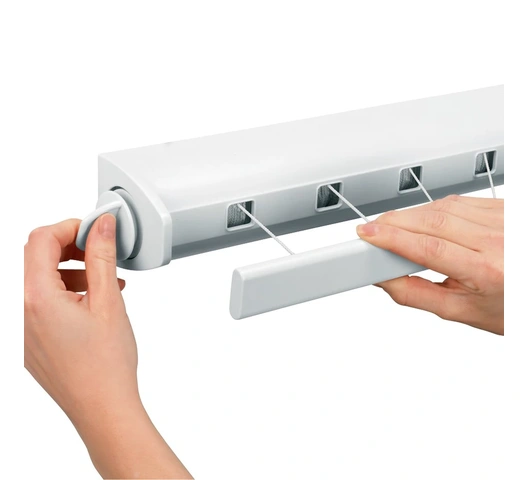
Auto-Retract Lines – Lines pull out smoothly and retract automatically into the housing when not in use.
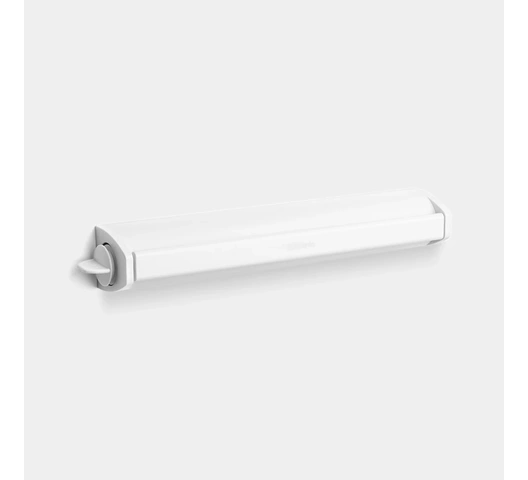
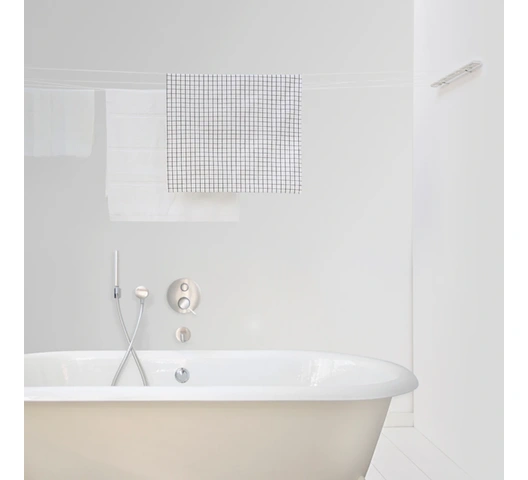
Compact Stored Profile – Sits flush to the wall when retracted, suitable for bathrooms, balconies, and utility rooms.
Durable Construction – Sturdy plastic housing with cord lines built to withstand repeated daily use indoors and in sheltered outdoor areas.
Easy Installation – Simple wall-fixing setup with hardware included, allowing quick and stable mounting on most wall surfaces.
Moisture Resistant – Suitable for humid environments such as bathrooms, resisting moisture without compromising performance.


Product specifications
| UPC | NBC142NBCDDR |
|---|---|
| Colour | White |
| Gross Weight Kg | 1.2 |
| Height Cm | 8 |
| Length Cm | 60 |
| Net Weight Kg | 1.0 |
| Removable Components | No |
| Reversible | No |
| Safe For Children | No |
| Size | 22 m |
| Style | Wall-Mounted |
| Width Cm | 10 |
| Finish | Matte |
| Material | Plastic |
| Water Resistance | Moisture Resistant |
| SKU | NBC142NBCDDR |
Additional product information
| Other Specifications | 5 retractable lines; total combined line length: 22 metres |
|---|---|
| What's included | 1 x Wall-Mounted Drying Line Unit, 1 x Fixing Hardware Set |
| Additional Items Required (Not Included) | Drill and appropriate wall fixings for wall type |
| Specific Uses | Indoor laundry drying in bathrooms, utility rooms, and sheltered outdoor areas |
| Care & Maintenance | Wipe the housing with a damp cloth. Keep lines free of knots and debris. Do not use abrasive cleaners. |
| Health & Safety Information | Ensure wall fixings are appropriate for the wall type before installation. Keep out of reach of young children when lines are extended. |
| Installation & Assembly Information | Wall-mount the unit using the supplied fixing hardware. Drill holes at the marked positions, insert wall plugs, and secure with screws. Hook the opposite anchor at the desired extension point. |